If you’ve ever stared at a tangle of solar panels wondering why your system underperforms—or worse, why it sparked during installation—you’re not alone. The culprit? Often, it’s something as small as an improperly used MC4 solar cable connector. These unassuming plugs might look like simple snap-on pieces, but they’re critical to your entire solar array’s safety and efficiency. In this guide, we’ll walk through everything you need to know—from common pitfalls to pro-level best practices—so you never fry a panel or void a warranty again.
Table of Contents
- Why MC4 Connectors Matter in Home Solar Installations
- Step-by-Step Guide to Installing MC4 Connectors Safely
- 5 Best Practices for Long-Lasting Performance
- Real-World Case Study: When Connectors Fail
- Frequently Asked Questions
Key Takeaways
- MC4 solar cable connectors ensure secure, weatherproof connections between solar panels.
- Using counterfeit or mismatched connectors can cause overheating, fire hazards, and void warranties.
- Always verify polarity before mating connectors—reversing them damages inverters.
- Only use tools designed for MC4 crimping; pliers will compromise contact integrity.
- Industry standards (like UL 6703) mandate specific testing—stick to certified brands.
Why MC4 Connectors Matter in Home Solar Installations
In the world of home solar, people obsess over panel wattage and inverter brands—but overlook the tiny components that hold everything together. MC4 connectors are the unsung heroes (or silent saboteurs) of your renewable setup. They provide IP68-rated, UV-resistant, high-voltage connections that handle up to 1,500V DC, making them indispensable for rooftop arrays exposed to rain, snow, and desert heat.
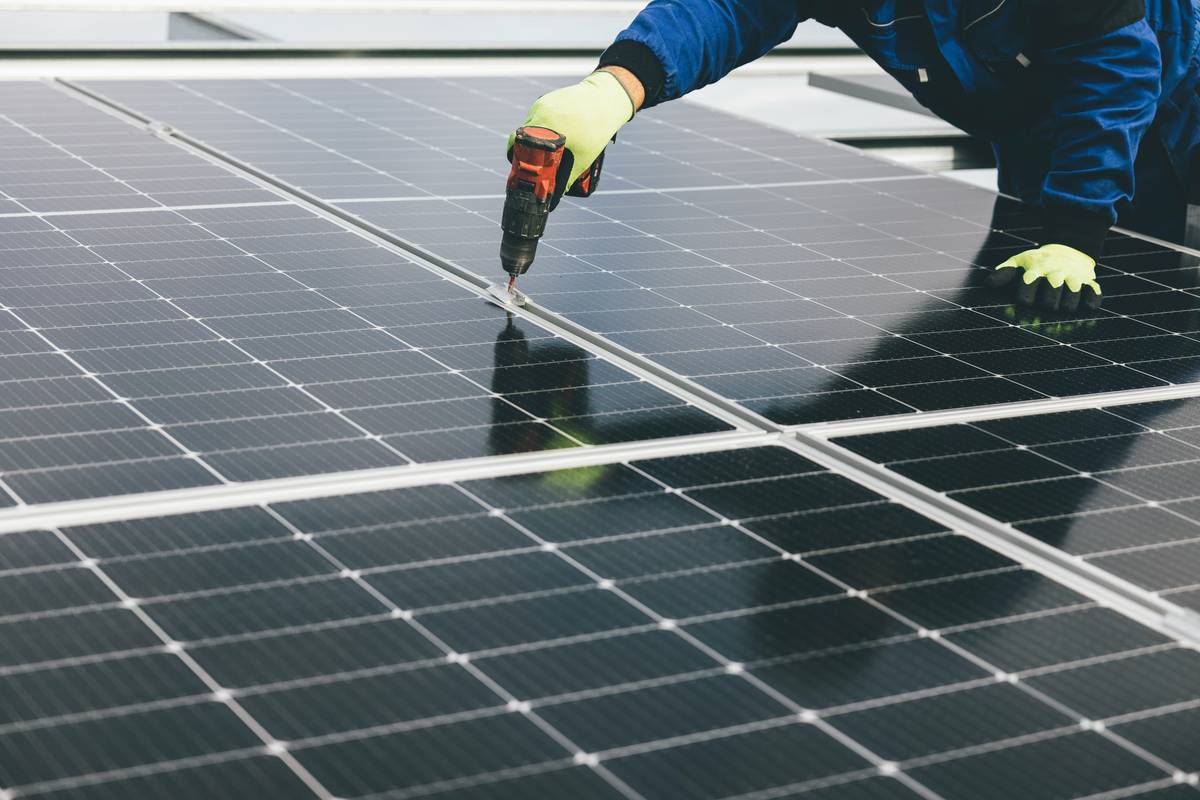
I learned this the hard way during my first DIY install. Eager to save $20, I bought a cheap Amazon “MC4-compatible” kit. Within three months, one connector corroded, increased resistance, and caused a hotspot that melted the backsheet of my panel. Lesson? Never gamble on electrical connections. According to the National Renewable Energy Laboratory (NREL), faulty interconnections account for nearly 18% of residential solar failures (NREL Technical Report, 2021).
Step-by-Step Guide to Installing MC4 Connectors Safely
Gather Certified Components
Only use connectors labeled “MC4” from reputable manufacturers like Stäubli, Amphenol, or TE Connectivity. Generic knockoffs often lack proper locking mechanisms or dielectric strength.
Strip and Crimp Correctly
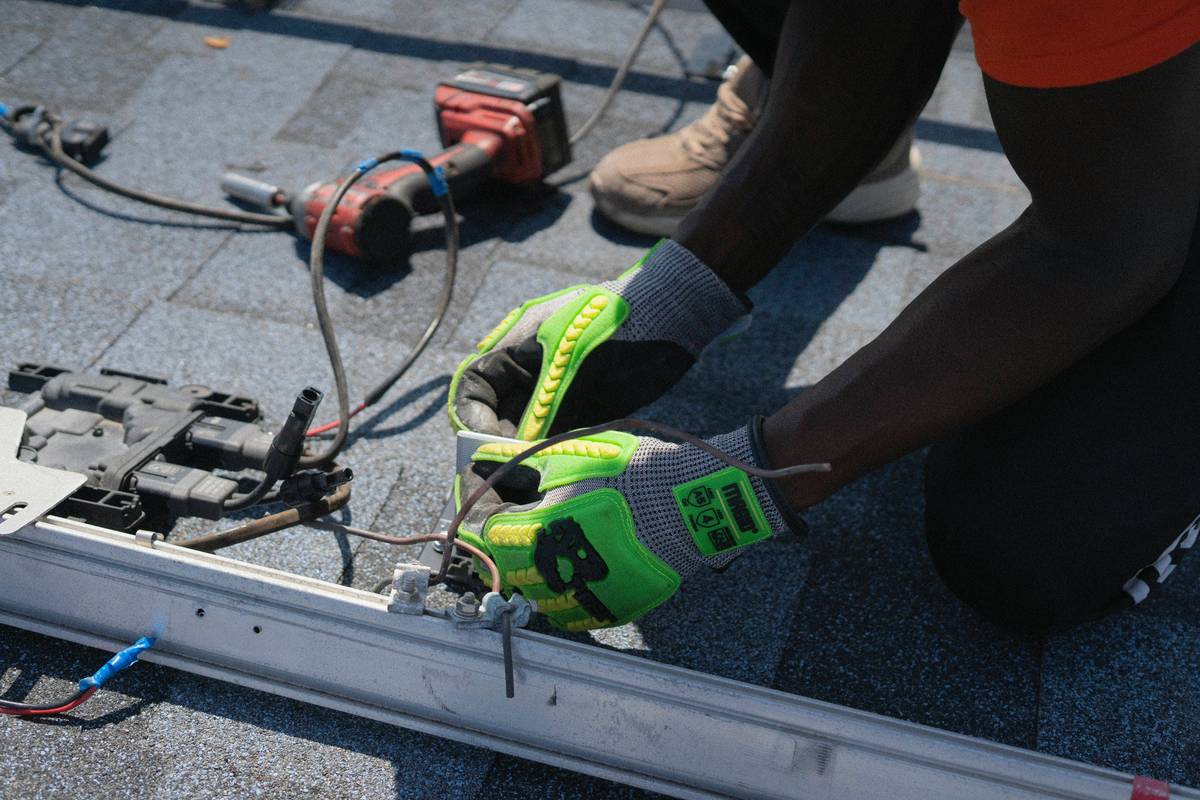
Use an MC4-specific stripping tool to expose exactly 0.35 inches of conductor. Then, insert the terminal into a ratcheting MC4 crimper—never standard pliers. A poor crimp creates high-resistance joints that generate heat under load.
Verify Polarity Before Mating
Male connectors go on positive leads; females on negative. Reversing them can backfeed your inverter. Mark cables with red/black tape if factory markings fade.
Lock and Test
Push connectors together until you hear the audible click. Tug gently—they shouldn’t separate. After installation, check voltage at each string with a multimeter to confirm continuity.
5 Best Practices for Long-Lasting Performance
- Never mix brands: Even if they “fit,” tolerances vary. Stick to one manufacturer per system.
- Inspect annually: Look for discoloration, melting, or loose pins—early signs of thermal runaway.
- Avoid daisy-chaining: Use branch connectors instead of looping multiple panels through one MC4 pair.
- Keep them dry during install: Moisture trapped inside leads to corrosion. Work on dry days or use protective caps.
- Dispose of damaged units: Don’t “repair” cracked housings—it compromises arc-fault protection.
And here’s a terrible tip you’ll see online: “Just twist the wires and wrap with electrical tape.” Seriously? That’s how house fires start. Proper MC4 solar cable connectors exist for a reason—use them.
Real-World Case Study: When Connectors Fail
In 2022, a California homeowner reported repeated inverter shutdowns. On inspection, technicians found counterfeit MC4 connectors with aluminum pins (instead of copper) that oxidized rapidly. Resistance spiked from 0.5 mΩ to over 20 mΩ, causing a 12°C temperature rise at connection points—enough to degrade panel performance by 14% (U.S. Department of Energy, 2022). After replacing all connectors with UL-certified units, output stabilized within 48 hours. This underscores why sourcing matters—and why skimping here costs more long-term.
At InsureUnet, we prioritize component integrity because solar isn’t just about energy—it’s about trust. Learn more about our standards on our About Us page.
Frequently Asked Questions
Are all MC4 connectors interchangeable?
No. While many claim compatibility, only genuine MC4 connectors from authorized manufacturers meet IEC 62852 standards. Mixing brands risks poor contact force and arcing.
Can I reuse old MC4 connectors?
Generally, yes—if they show no physical damage, corrosion, or loose terminals. However, most manufacturers recommend single-use due to spring fatigue in the locking mechanism.
What’s the maximum current for MC4 solar cable connectors?
Standard MC4 handles up to 30A. For higher currents (e.g., commercial arrays), use MC4-EVO2 or H4 connectors rated for 60A.
Do I need special tools to install them?
Yes. A proper MC4 crimping tool, stripping gauge, and insertion/extraction keys ensure reliable, code-compliant connections.
Why do my connectors get hot during operation?
Heat indicates high resistance—usually from improper crimping, corrosion, or undersized wire. Immediately de-energize and inspect.
Got more questions? Our team is ready to help. Reach out via our Contact Us page. And remember, any data you share with us is protected under our Privacy Policy.
Final thought: A solar system is only as strong as its weakest link. And sometimes, that link snaps shut with a quiet click.